

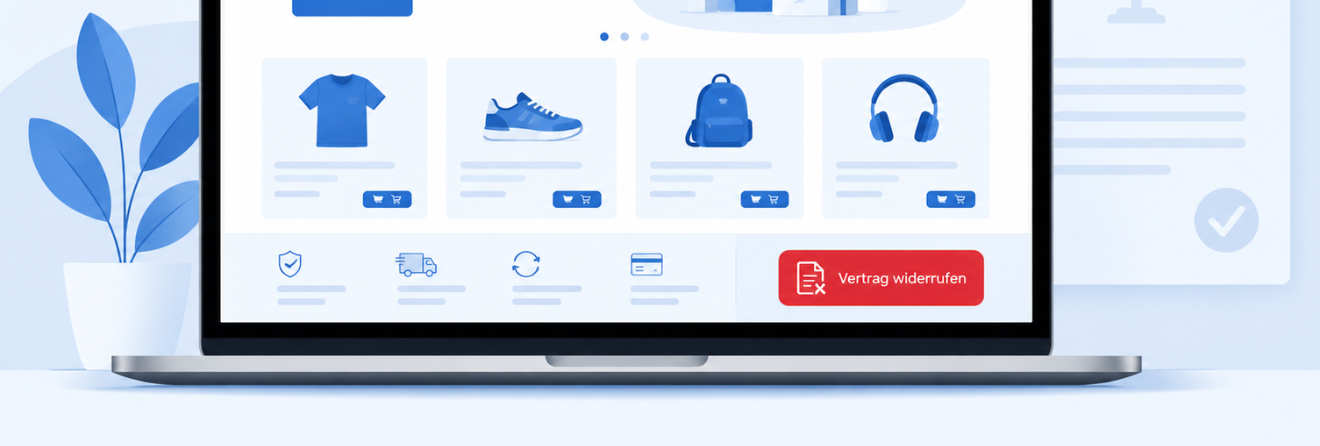
Starting June 19, 2026, the electronic cancellation button (Widerrufsbutton) is legally mandatory for B2C online shops in Germany (§ 356a BGB). Customers must be able to cancel contracts directly in the shop using a clearly labeled button — and the shop must automatically confirm receipt by email.
Shopware has built the solution natively starting with version 6.7.9.0 (backported to 6.6 starting with 6.6.10.14). If you're running one of these versions or newer, simply enable the button under Settings > Basic Information. If you're still on an older version, you'll need to set it up yourself — this article shows how.

Prerequisites
Shopware 6 from version 6.5.0.0, older than 6.6.10.14
Access to the Shopware admin backend
FTP or SSH access to the server (for the final step)
Step 1: Install the form plugin
First, you need the free form plugin from Telekom. It allows contact forms to be embedded directly in Shopping Experiences.
Download the plugin from the Shopware Store:
store.shopware.com → Form for Inquiries for Shopping Experiences
After installation, activate the plugin under Settings > Extensions > My Extensions.

Step 2: Create a Shopping Experience
In the admin backend under Content > Shopping Experiences, create a new Shopping Experience:
Type: Shop page
Name: e.g. „Cancellation Form“
In the layout editor, on the left in the Form block category, drag the Form Component block onto the page.

Step 3: Configure the form
Click the gear icon on the form block to open the settings. Three tabs need to be configured:
„Form Structure“ tab
First name: required field
Last name: required field
Email address: required field
Comment field: not required
Privacy policy: required field
Required field information: enabled
Set origin manually: enabled
Origin: Cancel contract
Origin value: Cancellation form
Disable all other options
„Custom Inputs for the Form“ tab
Custom input 1: required field
Label: Order number
Type: Input field
„Sending Data via Email“ tab
Enable sending to one or more recipients – enter the shop operator's name and email address
Enable sending to the requester

Step 4: Create category and page
Under Catalogues > Categories, create a new category:
Name: Cancel contract
Active: Yes
Hide in navigation: Yes (if no menu entry is desired)
Under Layout, link the Shopping Experience layout you created
Add SEO data (URL slug, meta title, meta description)

Then copy the category ID from the browser URL:
https://www.mein-shop.de/admin#/sw/category/index/019ebaf1b9e67c229e2d0eb9b26d8783/seo
The ID in this example is: 019ebaf1b9e67c229e2d0eb9b26d8783 – you'll need it in the final step.
Step 5: Adjust the email template
In the admin under Settings > Email Templates, search for „Inquiry form“ and open the template. In the HTML tab, replace the existing content with the following code:
<div style="font-size:12px;">
    Guten Tag {{ periodRequestFormData.firstname }} {{ periodRequestFormData.lastname }},
    <br/><br/>
    wir haben Ihren Widerrufsantrag für den Vertrag mit der Nummer {{ periodRequestFormData.freeInput }} erhalten und bestätigen den Eingang hiermit.
    <br/><br/>
    Ihre übermittelten Angaben:<br/>
    Vorname: {{ periodRequestFormData.firstname }}<br/>
    Nachname: {{ periodRequestFormData.lastname }}<br/>
    E-Mail-Adresse: {{ periodRequestFormData.email }}<br/>
    Vertragsnummer: {{ periodRequestFormData.freeInput }}<br/>
    {% if periodRequestFormData.comment != "" %}Kommentar: {{ periodRequestFormData.comment }}<br/>{% endif %}
    <br/>
    Das Formular wurde am {{ "now"|date('d.m.Y') }} um {{ "now"|date('H:i') }} Uhr eingereicht.
    <br/><br/>
    Mit freundlichen Grüßen<br/>
    {{ salesChannel.name }}
</div>

Step 6: Create a snippet
Under Settings > Snippets, select the desired set and create a new snippet:
Key: revocationRequestSnippetKey
Value: Cancel contract

Step 7: Free plugin
If you'd rather set up the button without building your own plugin, you can use the free eazyCode Cancellation Button Plugin. It automatically adds the button to the footer – the category can be set directly in the plugin settings, with no coding knowledge required: Download the free plugin.
If you'd rather build the button manually with your own plugin, follow the steps below.
Alternative Step 7: Adding the button to the footer
For this final step, you need a minimal Shopware plugin that extends the footer template block. Via FTP or SSH, create the following structure in the Shopware directory:
custom/plugins/SwWiderrufsButton/
├── composer.json
└── src/
    ├── SwWiderrufsButton.php
    └── Resources/
        └── views/
            └── storefront/
                └── layout/
                    └── footer/
                        └── footer.html.twig
composer.json
{
    "name": "sw/widerrufs-button",
    "description": "Widerrufsbutton Footer",
    "version": "1.0.0",
    "type": "shopware-platform-plugin",
    "license": "MIT",
    "autoload": {
        "psr-4": {
            "Sw\\WiderrufsButton\\": "src/"
        }
    },
    "extra": {
        "shopware-plugin-class": "Sw\\WiderrufsButton\\SwWiderrufsButton",
        "label": {
            "de-DE": "Widerrufsbutton",
            "en-GB": "Revocation Button"
        }
    }
}
src/SwWiderrufsButton.php
<?php declare(strict_types=1);

namespace Sw\WiderrufsButton;

use Shopware\Core\Framework\Plugin;

class SwWiderrufsButton extends Plugin {}
src/Resources/views/storefront/layout/footer/footer.html.twig
Replace YOUR-CATEGORY-ID with the category ID from Step 4:
{% sw_extends '@Storefront/storefront/layout/footer/footer.html.twig' %}

{% block layout_footer_navigation_hotline_content %}
    {{ parent() }}
    <a href="{{ seoUrl('frontend.navigation.page', { navigationId: 'YOUR-CATEGORY-ID' }) }}"
       class="btn btn-primary mt-2">
        {{ 'revocationRequestSnippetKey'|trans }}
    </a>
{% endblock %}
Then activate the plugin via the console and clear the cache:
bin/console plugin:refresh
bin/console plugin:install --activate SwWiderrufsButton
bin/console theme:compile
bin/console cache:clear

Conclusion
With these seven steps, the legally required cancellation button is fully set up even without a Shopware update: the form collects the data, the customer receives a legally compliant confirmation email, and the button is visibly anchored in the footer. If you're planning long-term, you should still schedule an update to Shopware 6.6.10.14 or 6.7.9.0 — there, this manual effort disappears completely.
Do you have questions about implementing the cancellation button in your Shopware shop? We're happy to help – no obligation, and fast. Contact us, we respond within 24 hours.